Mastering Three-Point Lighting: Elevate Your Visuals to Pro Level
Aug 18, 23

Why Should I Use Three-Point Lighting?
Table of Contents
-
Introduction
- What is Three-Point Lighting?
- Importance of Lighting in Visual Media
-
Key Components of Three-Point Lighting
- Main Light (Key Light)
- Fill Light
- Backlight (Hair Light)
-
Advantages of Three-Point Lighting
- Highlighting Subject Features
- Adding Depth and Dimension
- Enhancing Mood and Atmosphere
- Professional and Polished Look
-
Applications of Three-Point Lighting
- Photography
- Film and Video Production
- Interviews and Portraits
- Product Shots
-
Setting Up Three-Point Lighting: Tips and Tricks
- Angle and Positioning
- Light Modifiers
- Color Temperature
- Adjusting Light Intensity
-
Common Mistakes to Avoid
- Uneven Lighting
- Overlooking Shadows
- Ignoring Background Lighting
- Incorrect Color Balance
-
Frequently Asked Questions (FAQs)
- What is the key principle behind three-point lighting?
- Can I achieve similar results with natural light?
- Is three-point lighting suitable for outdoor shoots?
- How can I create a dramatic effect using this technique?
- What budget-friendly options are available for beginners?
Introduction
What is Three-Point Lighting?
Three-point lighting is a fundamental lighting technique used in visual media such as photography, film, and video production to enhance the appearance of subjects by carefully controlling the illumination. This method involves the strategic placement of three distinct light sources to achieve balanced and aesthetically pleasing results. Whether you're capturing a stunning portrait or shooting a cinematic scene, mastering three-point lighting can make a world of difference.
Importance of Lighting in Visual Media
Effective lighting is the secret sauce that can transform a mundane shot into a breathtaking visual masterpiece. Think about it: even the most captivating subject might look lackluster if not properly illuminated. Lighting isn't just about brightening up a scene; it's about sculpting the shadows, defining the textures, and setting the mood. Three-point lighting, in particular, offers a versatile toolkit to achieve all these goals and more.
Key Components of Three-Point Lighting
Main Light (Key Light)
The key light is the star of the show—it's the primary light source that shines directly on your subject. Positioned at a slight angle, usually around 45 degrees to the side of the camera, the key light highlights the subject's form, texture, and overall appearance. This is where your creative choices shine—pun intended! Depending on the angle and intensity of the key light, you can create dramatic shadows or soft, flattering illumination.
Fill Light
The fill light complements the key light by reducing the harsh shadows it creates. Placed on the opposite side of the camera from the key light, the fill light "fills in" the shadows without erasing them completely. This results in a balanced look that maintains depth and dimension while still ensuring important details are visible. A well-adjusted fill light is like a trusty sidekick—always there to support the main act.
Backlight (Hair Light)
The backlight, sometimes referred to as the hair light, adds a touch of magic to your composition. Positioned behind the subject and aimed at them, the backlight creates a halo-like glow around the edges, separating the subject from the background. This not only adds visual interest but also helps the subject pop, making them stand out in the frame. The backlight works like a subtle contour, emphasizing the subject's outline.
Advantages of Three-Point Lighting
Highlighting Subject Features
Three-point lighting isn't just about brightening a scene—it's about accentuating the subject's best features. By carefully controlling the key light's angle and intensity, you can sculpt the subject's face and body, enhancing their natural contours. This technique is a photographer's secret weapon for making models look like they stepped straight out of a magazine cover.
Adding Depth and Dimension
Flat, one-dimensional images? No thank you! With the interplay of the key, fill, and backlight, three-point lighting creates a sense of depth that draws viewers into the scene. Shadows and highlights interact to reveal textures and shapes, making the subject feel more tangible and real. Whether you're shooting a close-up or a wide shot, this technique breathes life into your visuals.
Enhancing Mood and Atmosphere
Lighting is a language, and different setups can speak different emotional dialects. Three-point lighting allows you to set the mood by adjusting the contrast between light and shadow. Bright, even lighting can evoke a sense of joy and vibrancy, while dramatic lighting with strong shadows can convey mystery and intrigue. Think of it as your cinematic toolkit for manipulating emotions.
Professional and Polished Look
Have you ever noticed how well-lit scenes just look more... well, professional? That's the magic of three-point lighting. Whether it's a corporate headshot or a product photoshoot, this technique brings a level of sophistication that's hard to achieve with haphazard lighting. If you want your visuals to exude professionalism, three-point lighting is your secret weapon.
Applications of Three-Point Lighting
Photography
In the realm of photography, three-point lighting can turn a snapshot into a masterpiece. From capturing the delicate features of a newborn to showcasing the intricate details of a vintage car, this technique offers unparalleled versatility. Whether you're shooting indoors or outdoors, portraits or products, the principles of three-point lighting remain consistent, ensuring your subjects shine.
Film and Video Production
Lights, camera, three-point action! Filmmakers understand the power of lighting in storytelling. From setting the tone of a scene to guiding the audience's attention, three-point lighting plays a pivotal role in creating cinematic experiences. Whether you're producing a blockbuster or an indie short film, mastering this technique elevates your visuals from amateur to awe-inspiring.
Interviews and Portraits
In the world of interviews and portraits, capturing the essence of the subject is paramount. Three-point lighting ensures that every interviewee's unique personality shines through, from the twinkle in their eyes to the warmth of their smile. It's the key to creating intimate connections between the subject and the viewer, making for captivating and relatable content.
Product Shots
E-commerce relies heavily on visuals, and three-point lighting is the ace up your sleeve. Whether you're showcasing a gadget, a piece of jewelry, or a mouthwatering dish, this technique adds that "wow" factor that prompts viewers to click "buy now." Properly lit product shots highlight every intricate detail, making customers feel like they're holding the item in their hands.
Setting Up Three-Point Lighting: Tips and Tricks
Angle and Positioning
The angles at which you position your lights can drastically affect the mood and appearance of your scene. Experiment with different angles to find the sweet spot that flatters your subject and enhances the narrative. Don't hesitate to move lights closer or farther to achieve the desired results.
Light Modifiers
Light modifiers are like the spices in your lighting recipe—they allow you to control the quality of light. Softboxes, diffusers, and reflectors can soften harsh shadows and create gentle gradients. Meanwhile, grids and barn doors give you precise control over light spill, ensuring your illumination hits exactly where you want it.
Color Temperature
Color temperature sets the emotional tone of your visuals. Warm tones evoke coziness, while cool tones suggest calmness. Pay attention to the color temperature of your lights, and consider the mood you want to convey. You can also mix different temperature lights to create unique, visually striking effects.
Adjusting Light Intensity
Not all lights are created equal, and that's a good thing. Adjusting the intensity of each light source can help you balance the lighting ratio and control the shadows. The key light is usually the brightest, followed by the fill light, and the backlight is the softest. Achieving the perfect balance takes practice, but the results are worth it.
Common Mistakes to Avoid
Uneven Lighting
The hallmark of great three-point lighting is its balance. Uneven lighting can lead to distracting shadows, overexposed areas, and an overall messy appearance. Take the time to ensure each light source contributes to a harmonious illumination.
Overlooking Shadows
Shadows are your friends, not your enemies. They add depth and dimension to your scene. Avoid over-brightening your setup to the point where shadows disappear entirely. Embrace the shadows and let them contribute to the storytelling.
Ignoring Background Lighting
Your subject isn't the only star—your background plays a supporting role too. Neglecting background lighting can result in a lackluster backdrop that doesn't complement your subject. A strategically placed light can add separation and interest to the background, elevating the overall composition.
Incorrect Color Balance
Color casts can make your subjects appear unnatural or give your scene an unintended mood. Be vigilant about color balance, especially if you're mixing different light sources. Consistency is key to achieving a cohesive and visually pleasing result.
Frequently Asked Questions (FAQs)
What is the key principle behind three-point lighting?
The key principle is achieving balanced illumination by using three light sources: the key light, fill light, and backlight. This technique adds depth, highlights features, and creates a polished look.
Can I achieve similar results with natural light?
While natural light is beautiful, it's often unpredictable and lacks the control offered by three-point lighting. This technique gives you the power to shape and sculpt light for consistent and professional results.
Is three-point lighting suitable for outdoor shoots?
Absolutely! Even in outdoor settings, the principles of three-point lighting apply. You may need to adapt the technique to the available natural light, but it can still elevate your visuals significantly.
How can I create a dramatic effect using this technique?
To create drama, increase the contrast between your key light and shadows. Position the key light at a steeper angle and use a more intense backlight. This will create bold, striking visuals that capture attention.
What budget-friendly options are available for beginners?
Starting with basic lighting kits, softboxes, and reflectors can give beginners a solid foundation. As you gain experience, you can gradually invest in more advanced equipment to further enhance your lighting setup.
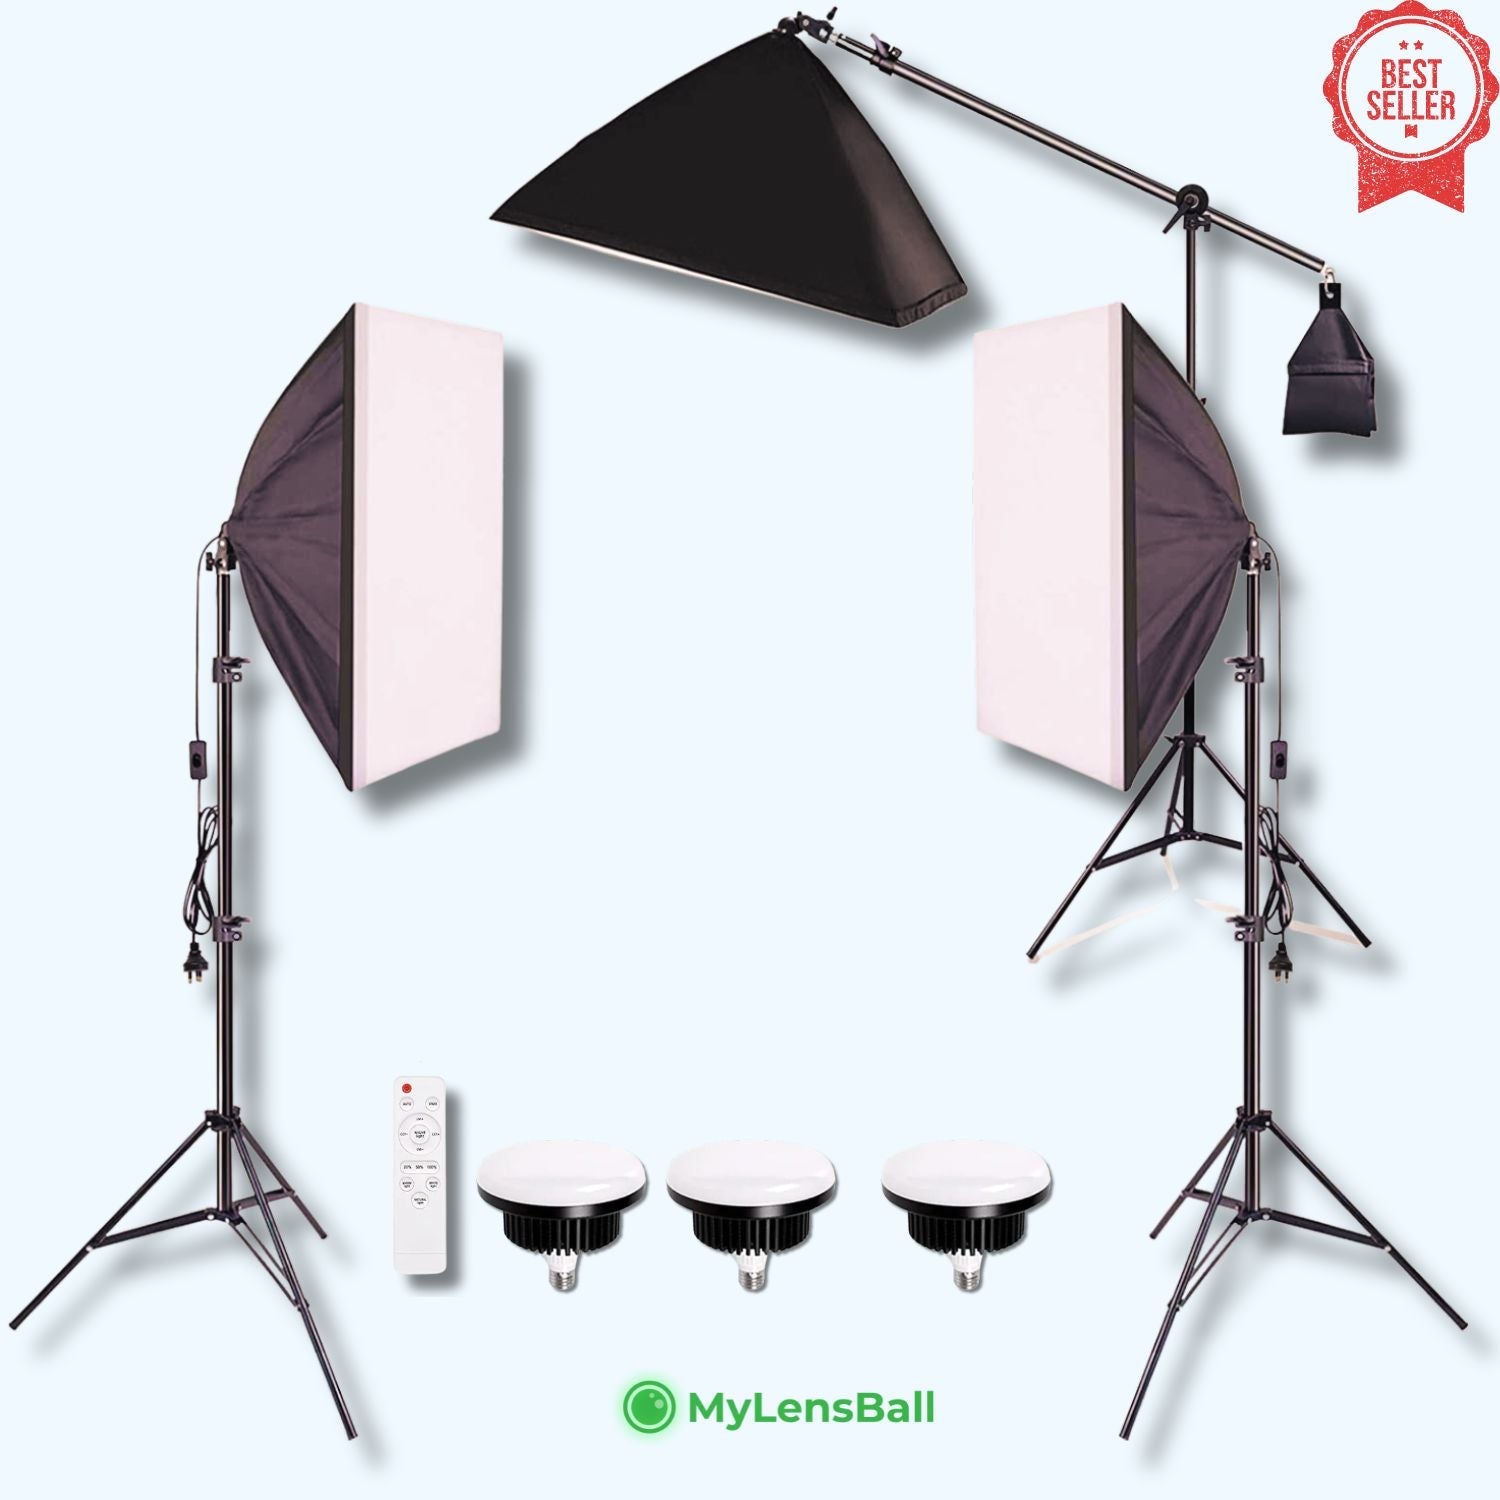
Pro LED Softbox 3 Point Lighting Kit

|
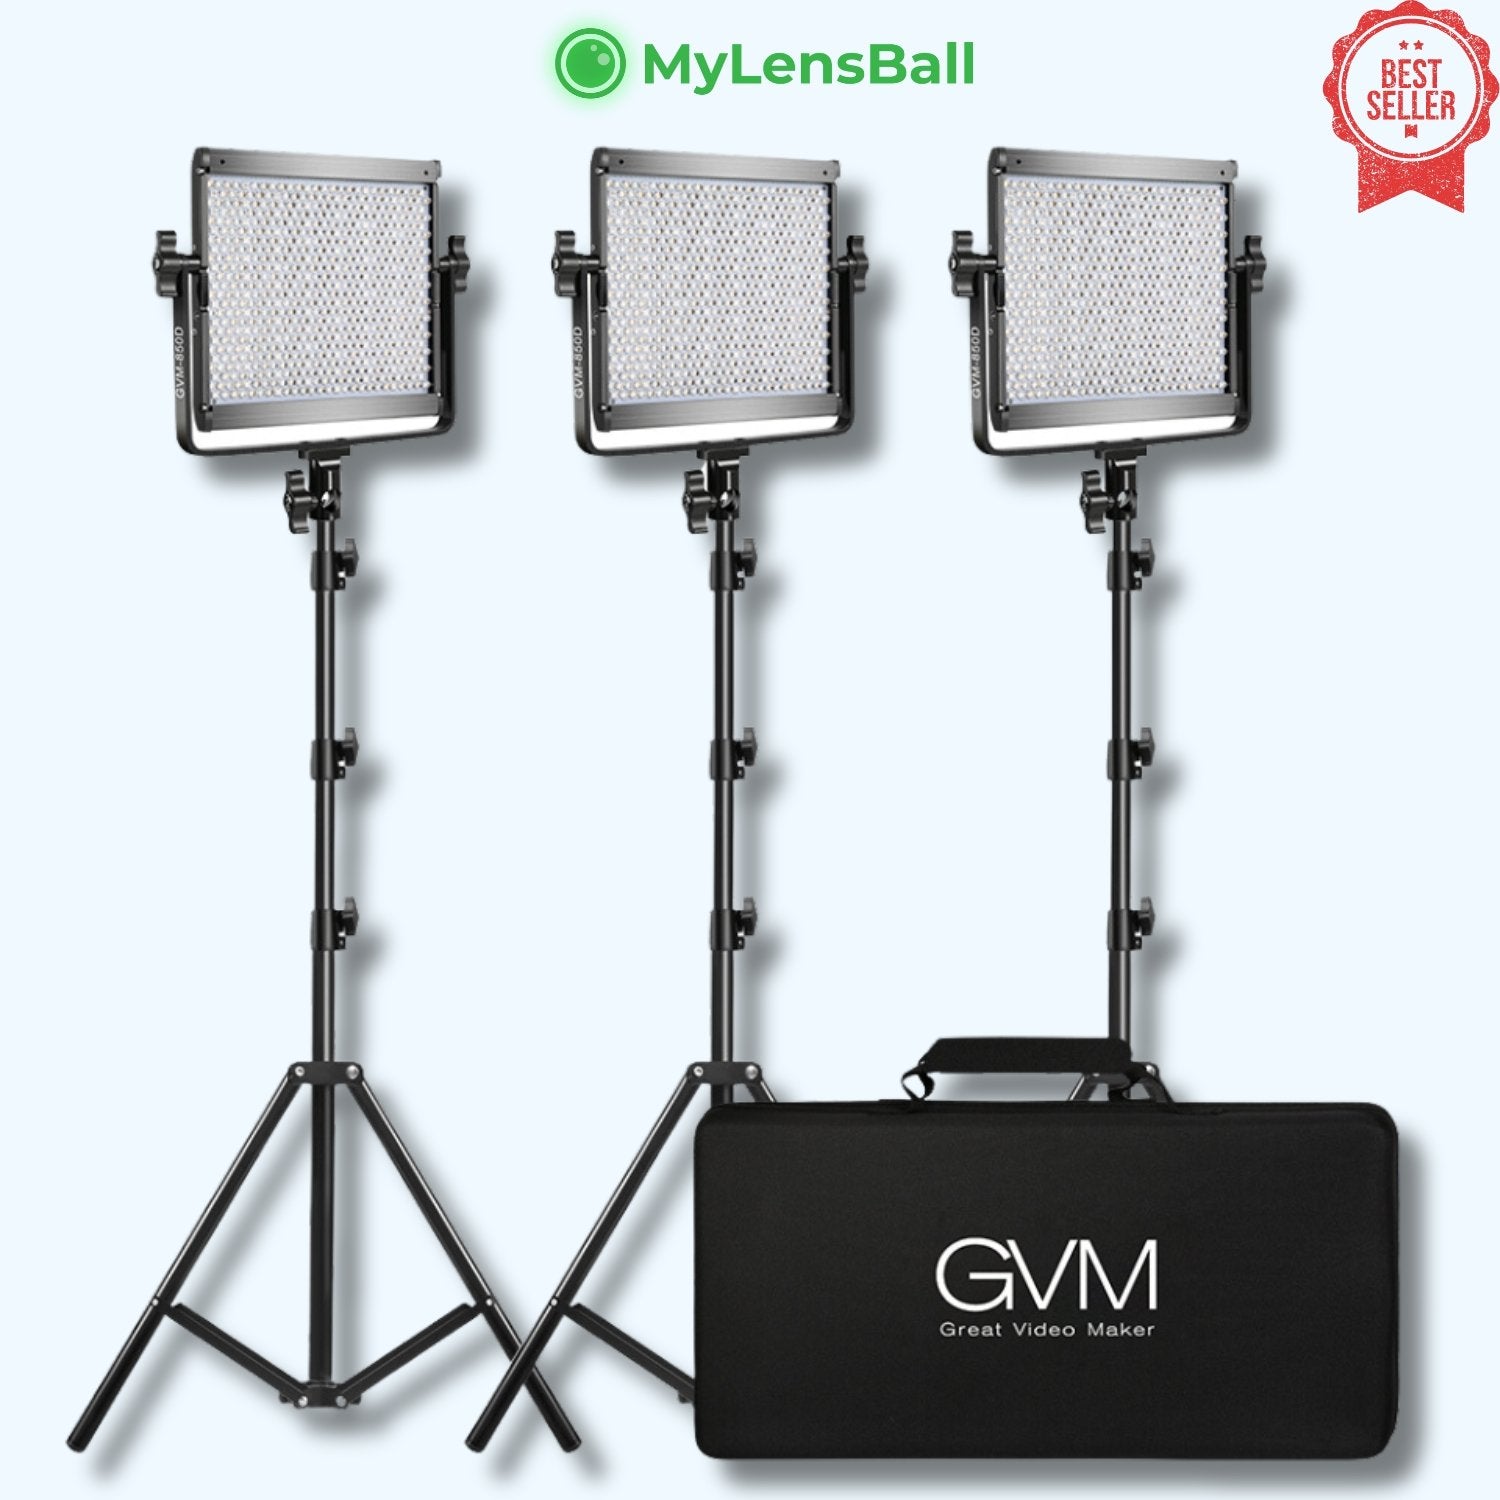
GVM 800D RGB LED 3 Point Lighting Kit

|


Leave a Comment